First, make sure to secure the screws on the star tracker without over-tightening to avoid damaging the 3D-printed parts. All screws should be snug (you can tighten the tripod head and 3/8" screw a bit more to prevent loosening). Check for smooth movement in all operations. Occasionally, the M8 bearing main joint and M5 threaded screws might become loose or wobbly, so it's essential to check and tighten them before shooting.
2. Balance and Spring Adjustment
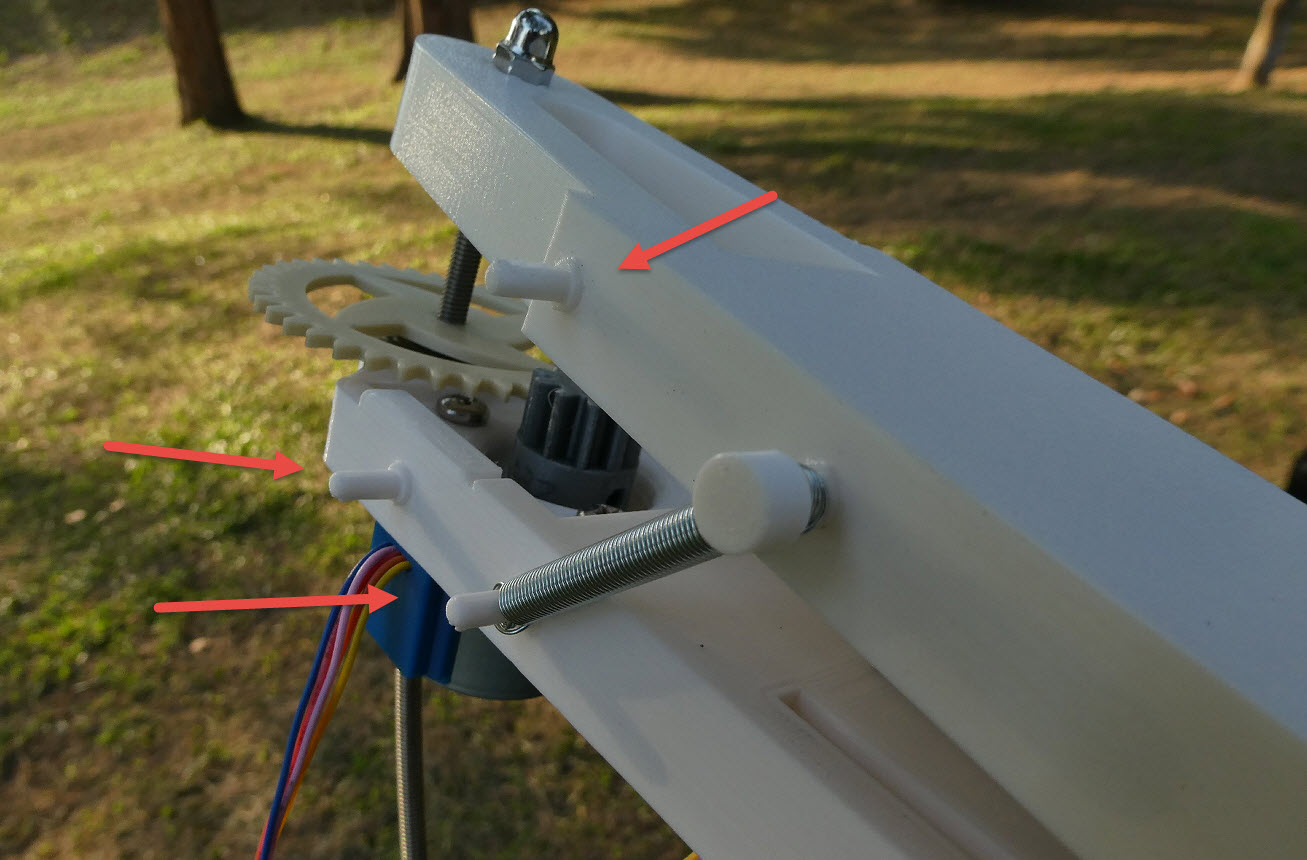
Lift the top board and use a spring to control the pulling force, ensuring that the camera won't tip over during operation. There are two springs with two adjustable tension points.
Warning:
Without using the spring, there is a risk of the camera tipping over, which can damage your photography equipment and tracking board. Before capturing images, it is crucial to properly balance the tension.
If the spring is tightened too much, it may cause deformation of the tracking board or result in the gear teeth being pushed outwards.
3. Focusing adjustment
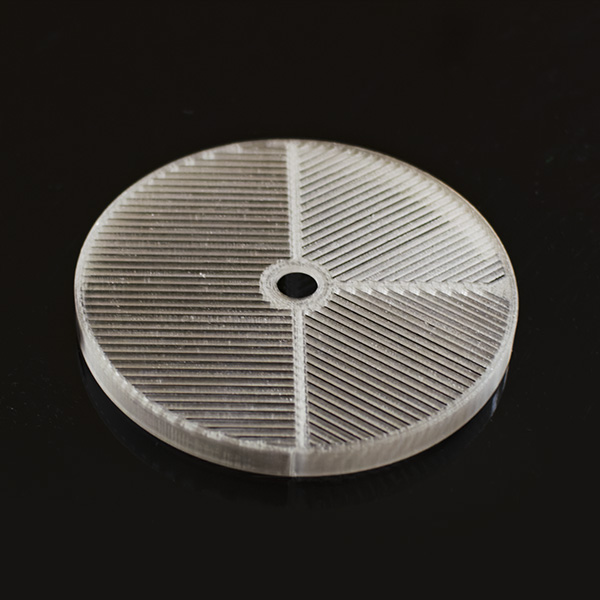
Use a Bahtinov mask for focusing, ensuring proper focus before starting the photography."
Press the start button on the control panel to initiate the operation. Press it again to stop. Each activation runs for approximately 100 minutes. You can pause it midway by pressing stop and then start again to extend for another 100 minutes."
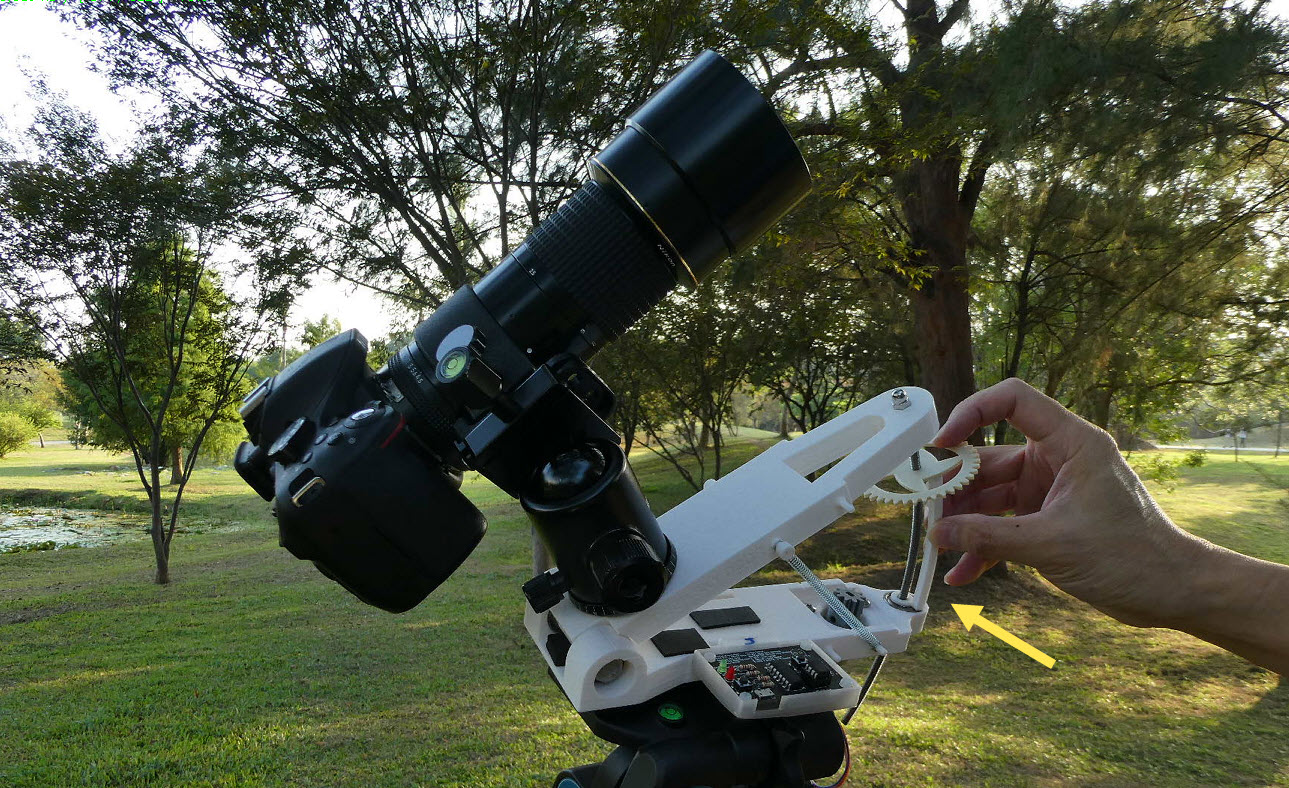
Ensure that the gear has sufficient rotational length to operate properly.
Connect the power supply, press the start button, and it will start operating.
5. About Controller
Indicator lights:
The movement direction of the DSD equatorial mount/star tracker board can be adjusted to either raise or lower. This adjustment can be made based on your preference or depending on whether you are located in the northern or southern hemisphere.
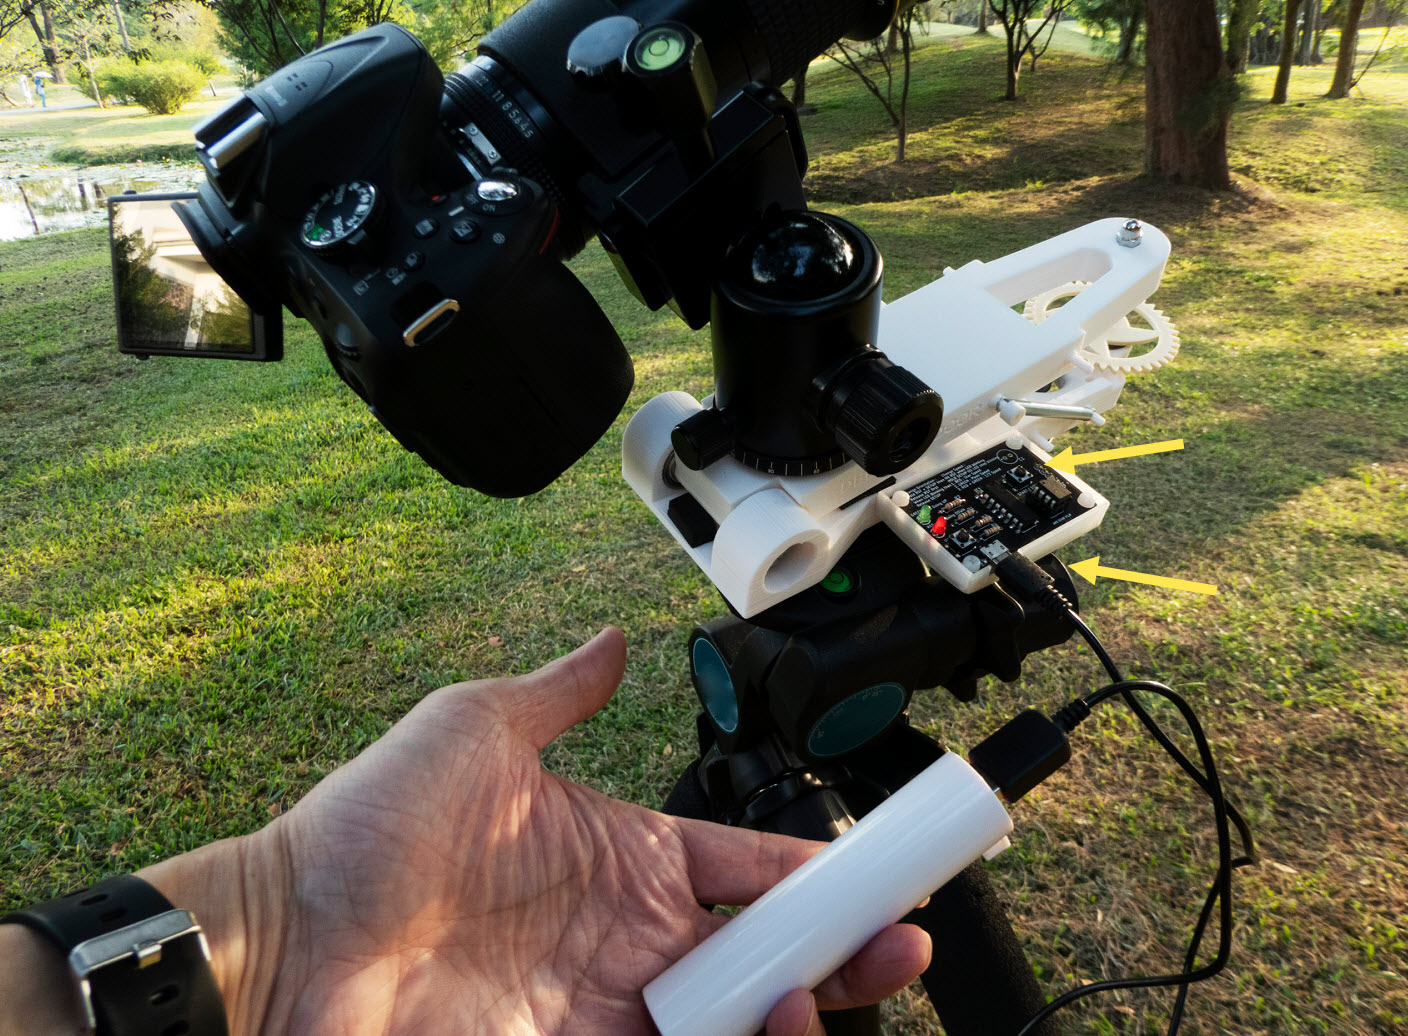
The indicator lights on the controller represent the up and down movement. When the controller is initially powered on, the lights will flash three times. If the lights flash green three times, it indicates that the board will move upwards. If the lights flash red three times, it indicates that the board will move downwards.
After the three flashes, the indicator lights will remain solid. This part serves as a speed indicator. If the red light is on, it indicates that the current speed is start speed. If the green light is on, it indicates that the current speed is lunar speed. If both the red and green lights are on simultaneously, it indicates that the current speed is half-speed.
Next, press start button, and the star tracker will start operating. During operation, the red and green lights will flash simultaneously. Press the button again to stop it. Each time you press the start button, the star tracker will operate for approximately 100 minutes before automatically stopping.
Controller Operation
Change rotation speed:
DSD equatorial mount offers three rotation speeds: star speed, lunar speed, and 1/2 speed.
To switch the rotation speed, press and release the reset button (left side) once. At this point, the indicator light will flash three times. While it is flashing, press and hold the right button until the indicator light stops flashing, then release it. This will allow you to switch to the desired tracking speed.
If the indicator light is red, it indicates the star speed.
If the indicator light is green, it indicates the moon speed.
If both the red and green lights are on, it indicates half-speed.
Change Movement Direction:
As long as the star tracker board is following the celestial objects' rotation, you can set it to move either upwards or downwards according to your preference. Just ensure that you maintain sufficient length of the rod.
To change the vertical movement direction, follow these steps:
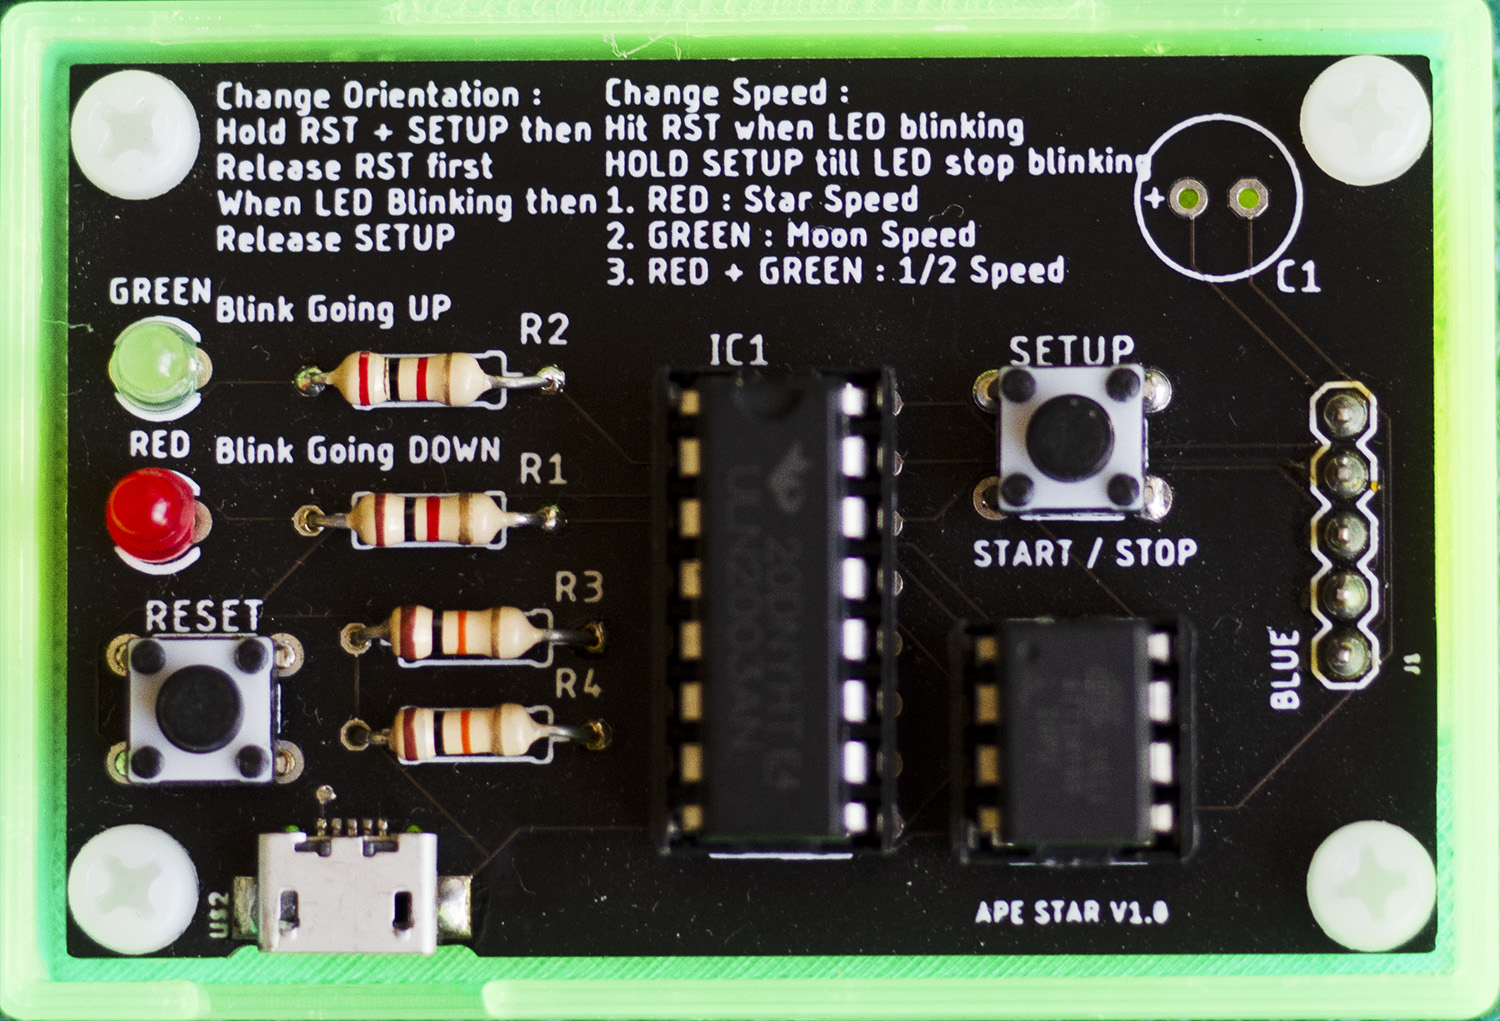
Press and hold the left reset button.
While holding the left reset button, press the right start button.
Release the left reset button first, and then release the right start button.
By performing these steps, you can change the movement direction of the tracking board.
(If you continuously hold down the Setup button while the tracker is in operation, you can reverse the initial values of the vertical movement direction.)
On the left is the Reset button, and on the right is the Start/Stop/Setup button.
Polar Alignment
Before shooting, make sure to align the polar axis properly. This allows the star tracker to rotate with the Earth, preventing star trails from appearing in your photos.
Method 1: Using a star pointer
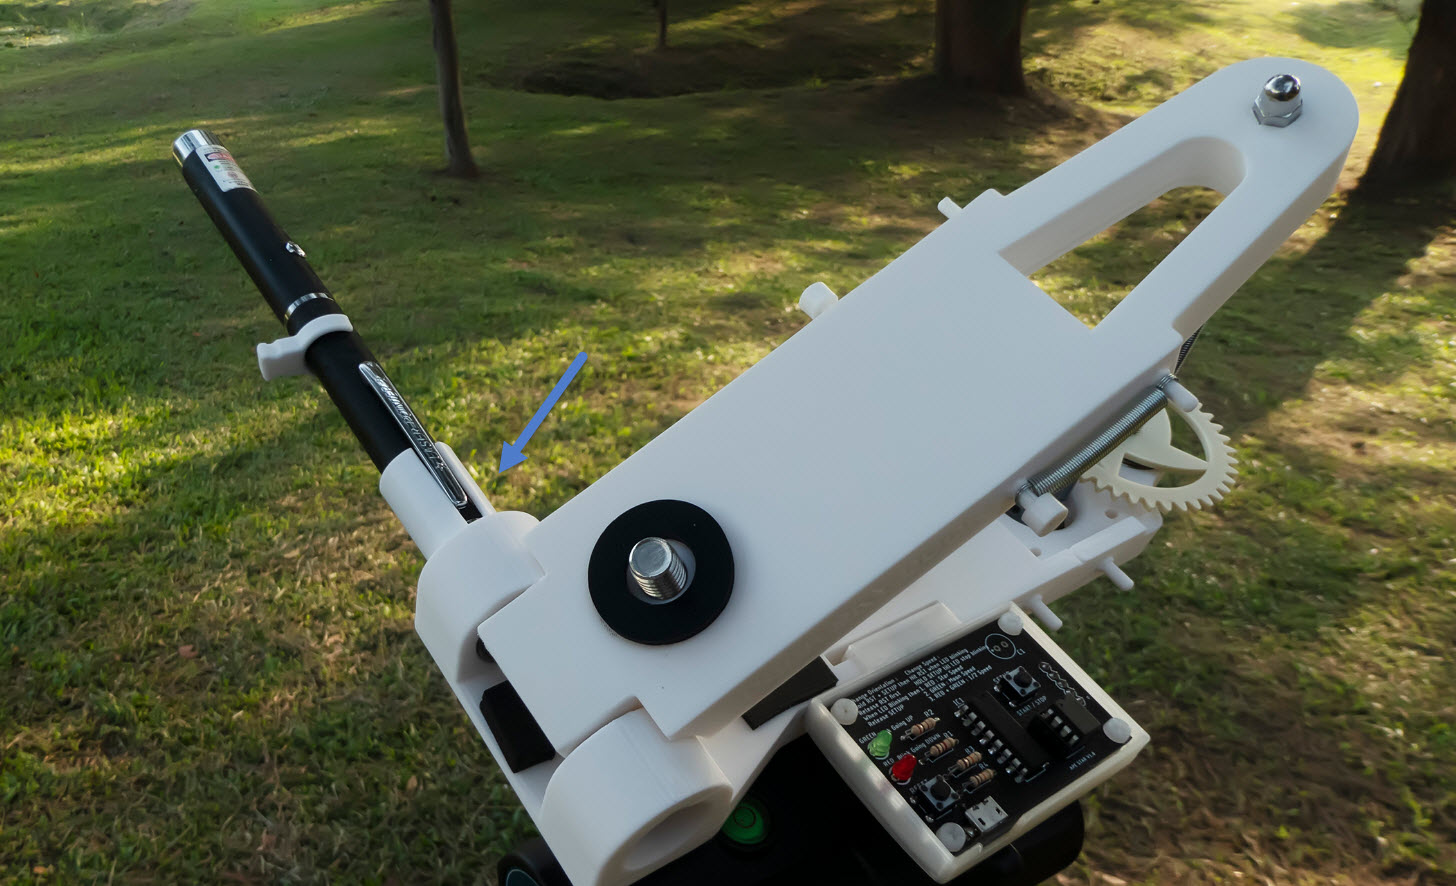
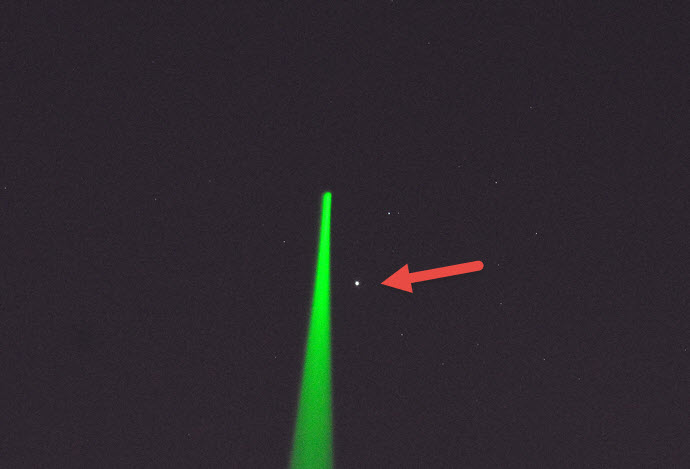
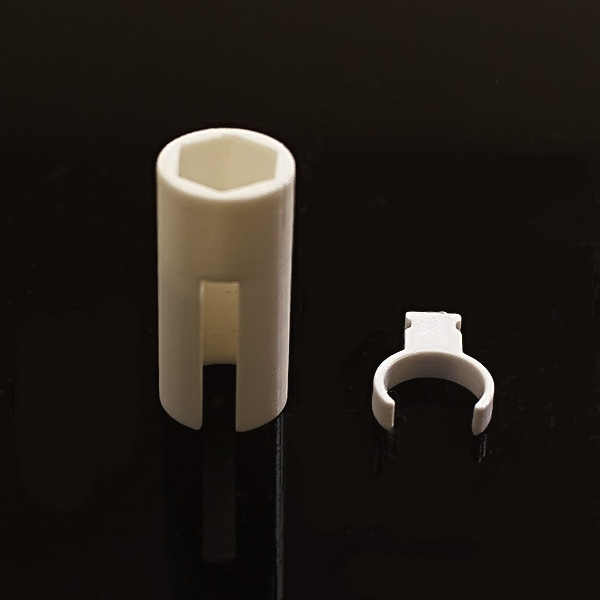
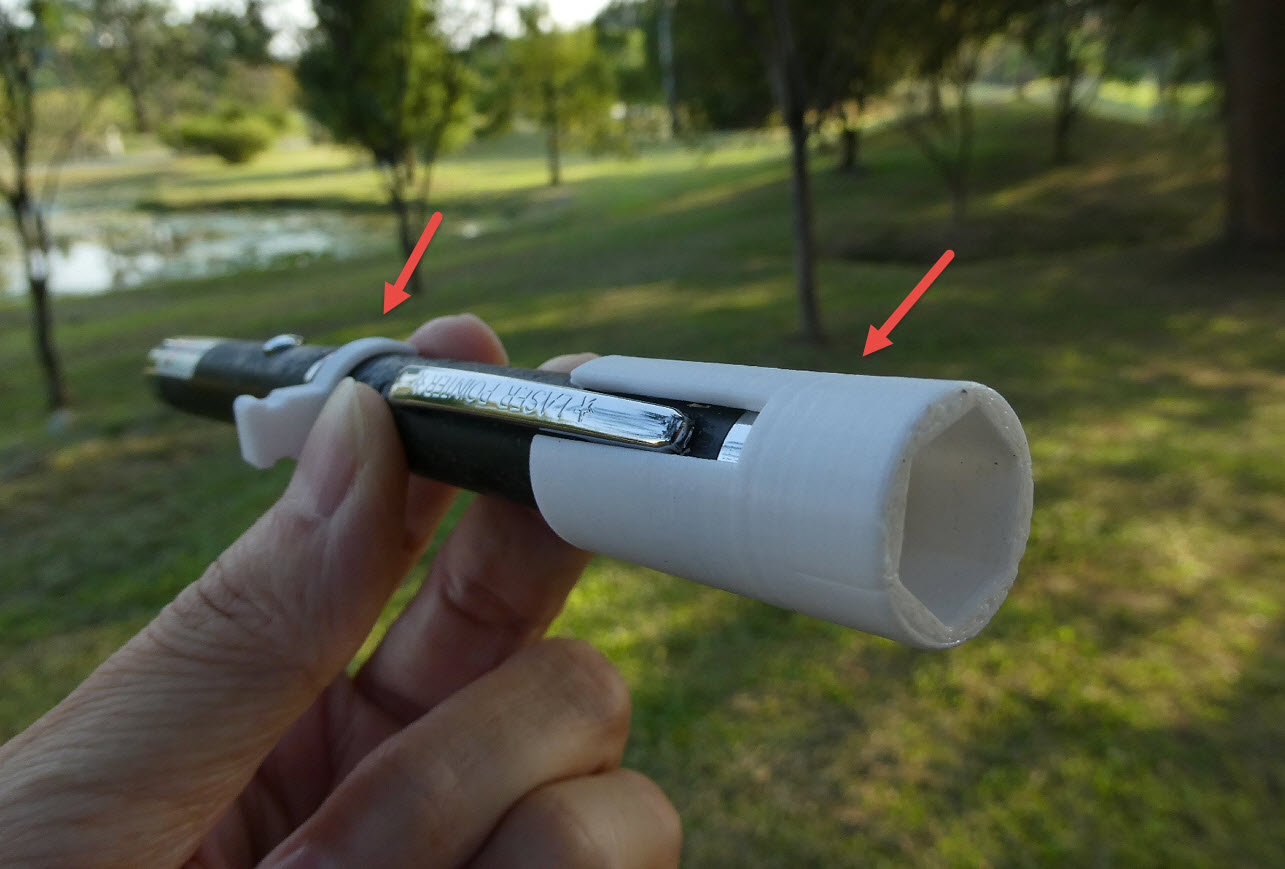
If you can see the North Star, using a star pointer to align with it is the fastest way. However, due to accuracy issues, we cannot determine the precise adjustment for the polar axis. Therefore, we rely on the drift method to correct the polar axis. We provide a star pointer holder and a switch ring, but please note that the star pointer holder is only suitable for star pointers with a diameter of approximately 14mm (please purchase separately). Also, remember to choose a green laser pointer to effectively point at stars. If the surface of the pointer is smooth, it may be slightly loose. You can use tape or any preferred method to increase the thickness. If the surface is matte, the star pointer holder may cause cosmetic wear on the pointer.
Warning:
1. Aligning with the North Star provides a rough indication of the position, but for precise alignment, drift alignment is necessary. The North Star is not exactly on the polar axis, so using the star pointer alone may not be accurate. Use drift alignment to align with the polar axis for better accuracy.
2. After identifying the target object, it is possible for the polar axis to shift due to camera movements. Before capturing images, it is recommended to double-check the alignment of the polar axis to ensure there is no displacement.
3. The laser of the star pointer may not be perfectly aligned with the optical axis, resulting in some degree of error.
And after aligning the polar axis correctly, it is important to remove the star pointer holder (unless it is a rotating type) before capturing any photographs.
4. When using a heavier payload, there is a possibility of polar axis misalignment due to the shift in height and weight distribution. It is recommended to check the polar axis every 30 minutes or reduce the exposure time for each shot. Additionally, before capturing any photographs, ensure that the bottom plate of the star tracker is leveled to prevent further polar axis deviation as you continue shooting.
The DSD star tracker is capable of achieving one-minute exposures with an effective focal length of approximately 600mm (M43 camera + 200mm lens + TC1.4x), but it requires good drifting and polar alignment skills.
5. In high payload situations, when the star tracker is raised, the direction of star displacement may be unpredictable. However, if there is no noticeable star trailing, this irregular movement can actually help reduce noise. Fixed directional displacements can cause Walking Noise, which is difficult to remove in post-processing. Therefore, if there is no trailing, you can ignore the undirected displacements. If desired, perform drift alignment every 30 to 40 minutes to correct the polar axis.
6. Please make sure to tighten the screws of the camera and quick-release plate to prevent loosening during the lifting process, which may result in star trailing. If the direction of the trailing lines is inconsistent with the direction of star displacement, it is likely caused by a loose tripod head.
Laser pointer holder and switch clamp.
The laser pointer can be directly inserted/rotate into the M8 nut to connect with the DSD star tracker. When aligning with the North Star, remember to remove the laser pointer holder.
Difference between North Star and celestial pole (about 1.x times the size of a full moon).
Method 2: Compass & Clinometer
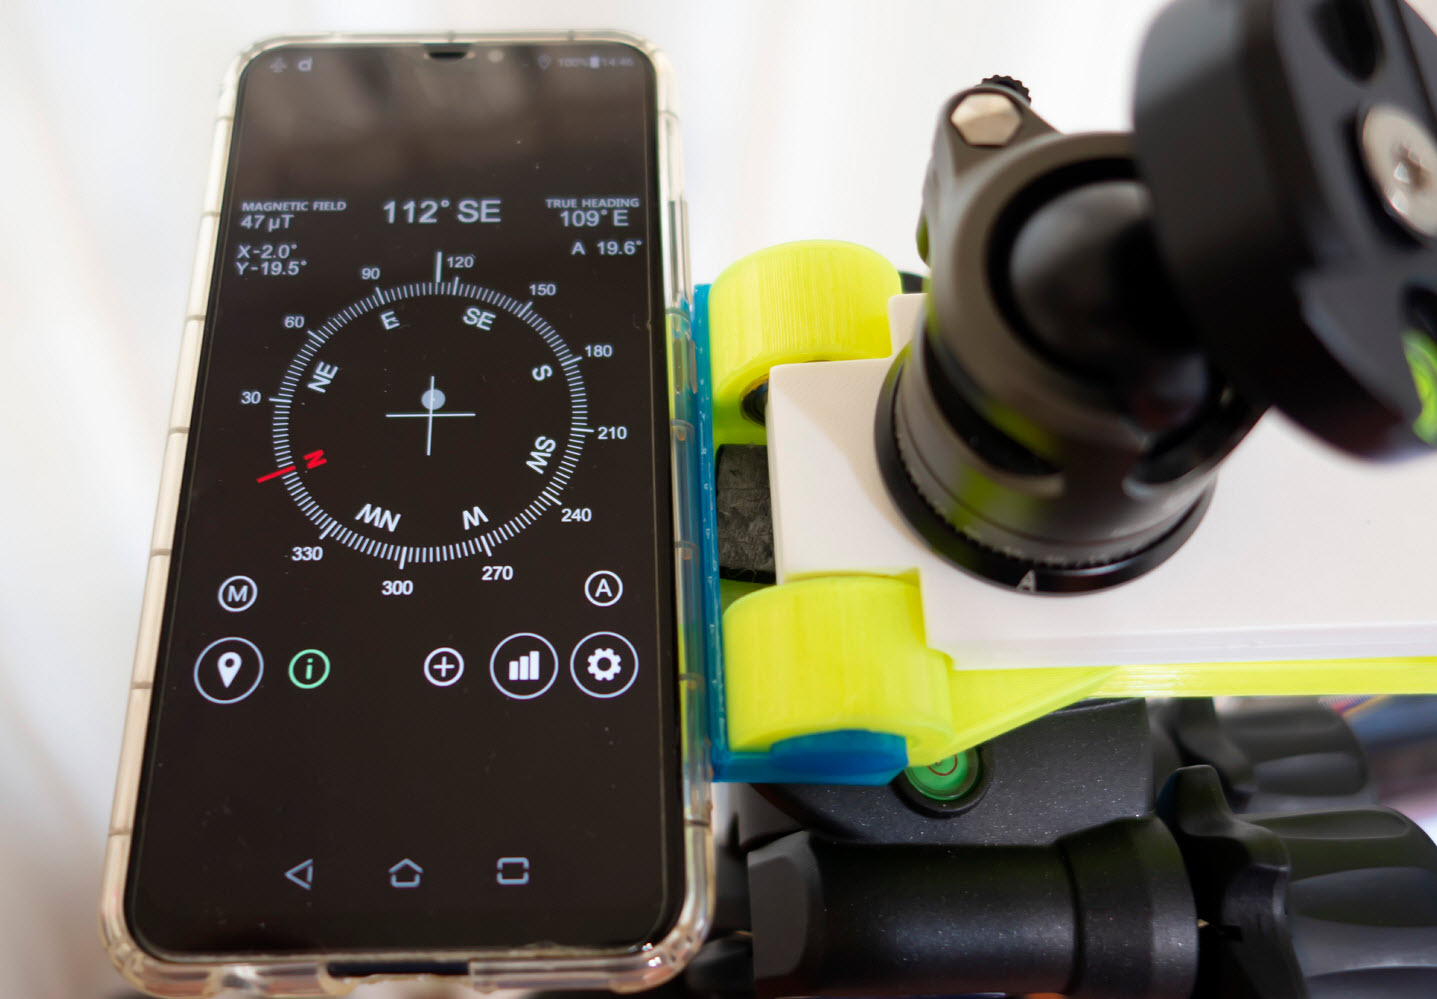
Use your mobile phone to determine the azimuth and elevation. Ensure that the phone has been calibrated properly. Adjust the star tracker to the northern position. Assuming your latitude is 23.6 degrees, set the elevation angle of the star tracker to 23.6 degrees. This completes the basic polar alignment.
Warning:
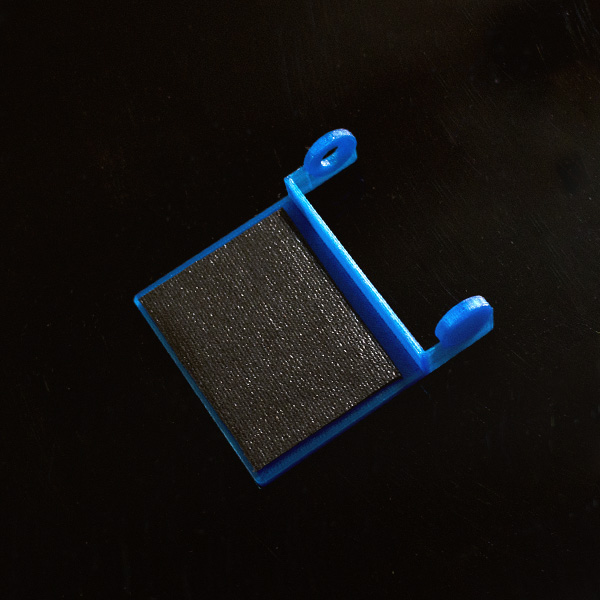
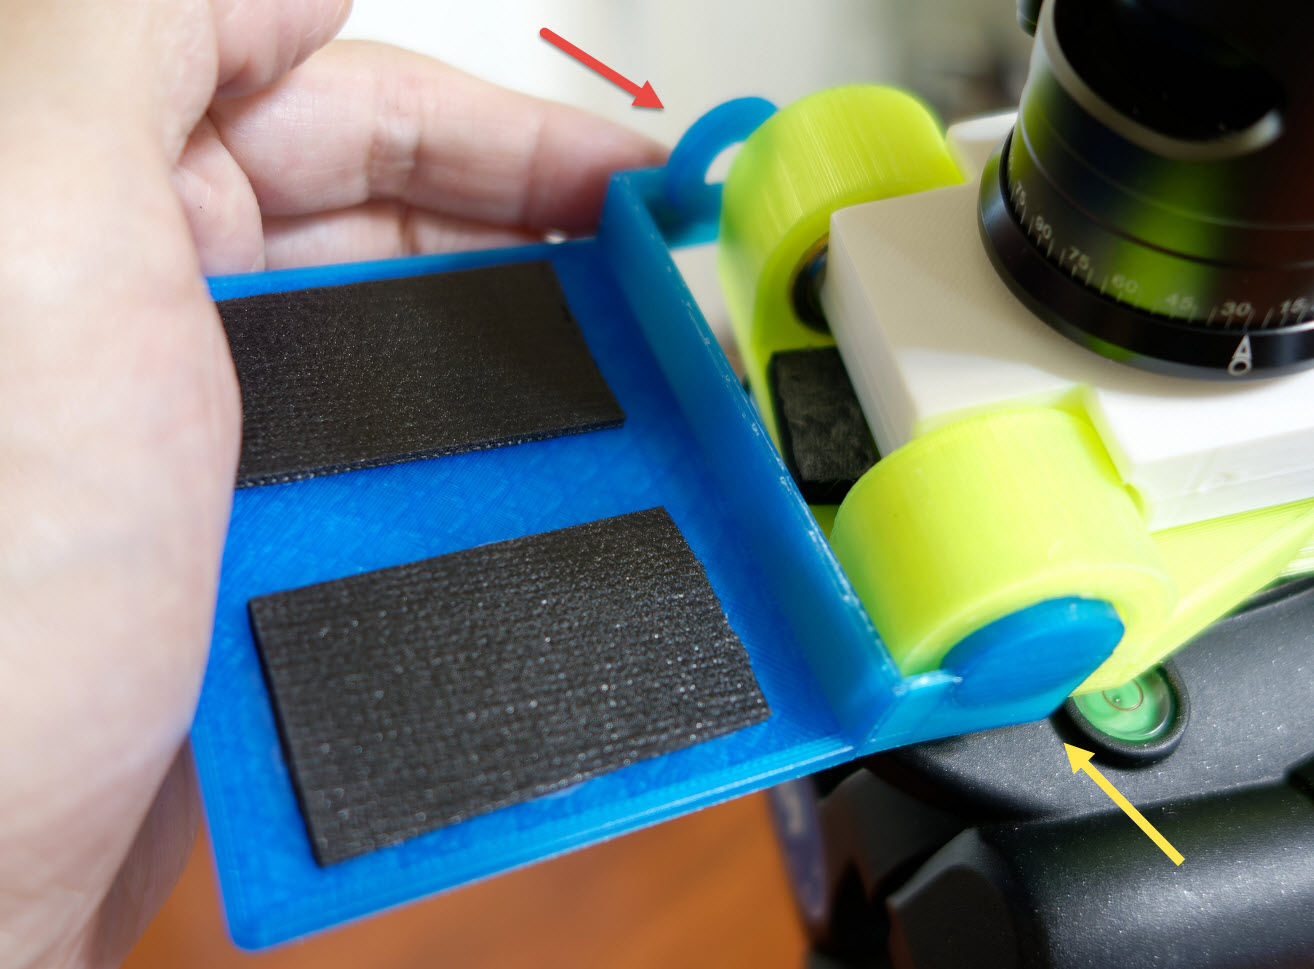
The mobile phone may fall from the extended adapter due to too large angle of elevation, please strengthen the anti-slip measures yourself to avoid the mobile phone from being broken.
To attach the phone extension board, hold the bottom first, then secure the top. When removing it, start by detaching the top part.
Use your smartphone to determine the azimuth and elevation angle. Remember to perform the "8-figure calibration" for your phone beforehand.
If you cannot figure out how to perform drift alignment, just reduce the exposure time. As long as there are no obvious star trails, it will be okay to stack all your photos in software.
Easy way to do drift alignment
This might not be very accurate, but can be slightly adjusted as follows:
Set the elevation angle using the latitude of your location, then only adjust the azimuth. If you correct towards the right and the star trails become longer, that means you need to correct towards the left. During the adjustment process, pay attention the changes in the elevation angle, it must be correct to match your latitude.
Accessories
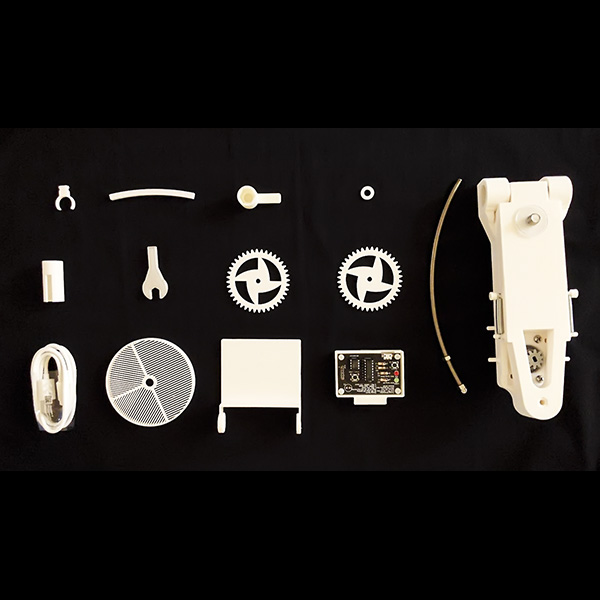
Preparing the relevant accessories you'll need
All lists
All of them are 3D printed.
Related tools
Used for screw fastening
A Bahtinov Mask
Approximately 80mm
Laser holder & switch clamp
laser pointer holder with switch
Phone Adapter
Phone Adapter
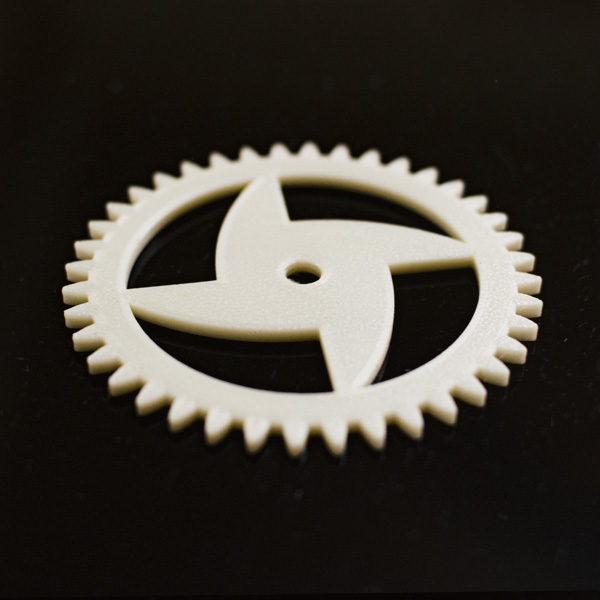
Extra large gear
Just in case
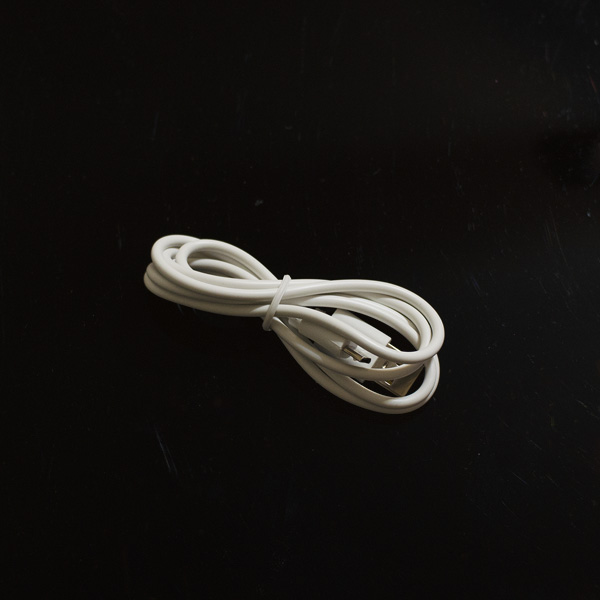
power cord
one Micro USB power cable
Operation measurement
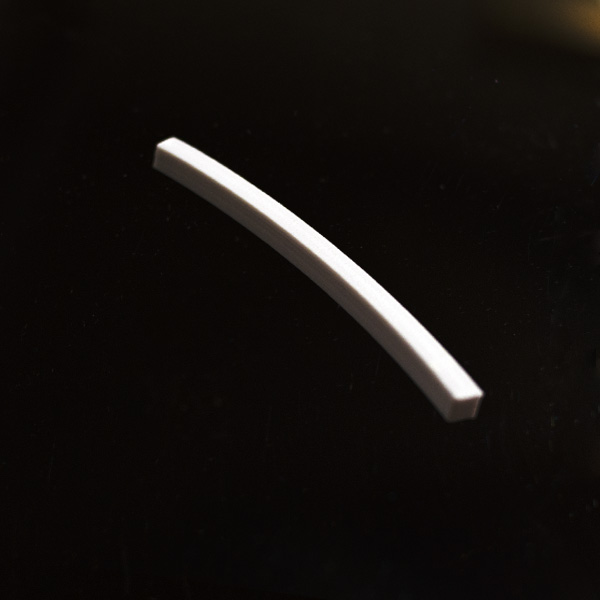
A 100 minutes measurement ruler
Contact Us
If you have any questions about the Barn Door Tracker, feel free to email me (James).