Loading ....

FAQ

Common issues you may encounter when using a Barn Door Tracker.

Please make sure that the polar axis is accurately aligned. You can take two images to observe the movement of the star points and use drift alignment method to improve the accuracy of the polar axis.

As long as you can accurately align the polar axis, you can have longer single exposures. However, we do not recommend pursuing long exposures with non-cooled astronomical cameras. Apart from the time-consuming drift alignment method for polar alignment, regular digital cameras are not suitable for longed exposures because they can introduce more thermal noise. Additionally, extremely long exposures would also require more time to capture dark frames.

For telephoto lenses of 135mm or longer, exposures ranging from 15s to 60s can be used effectively. Multiple exposures can be stacked to simulate a longer exposure.

With accurate polar alignment, the DSD can indeed achieve extremely long single exposures (e.g., 645 seconds) using a 200mm(300mm APS-C) lens. However, if a DSLR camera is subjected to extremely long exposures, it can result in a significant amount of noise.

  • Ensure tight screws on tripod, DSD tracker, and mount, and ensure smooth movement of thread rod.
  • Please make sure the tripod is securely locked and there is no looseness in the tripod caused by the weight of the camera.
  • Please make sure the star pointer holder has been removed from the DSD.
  • Please ensure that there is no shaking, such as strong wind or an unstable surface, and use a stable tripod.
  • Please ensure that all components of the DSD are assembled correctly and that the spring is not overly tightened.
  • Please ensure that the DSD is not subjected to excessive weight and try to keep the load as light as possible during the lifting process. You can consider adjusting the position of the camera on the tracker, such as moving it towards the north or south ends.
  • Please ensure that the large gear white washer is properly installed.
  • Please ensure that the lens coating is intact, there is no separation between lens elements, no mold growth, and the lens surface is clean.
  • If your camera has a two-stage or silent shutter mode, please activate it to reduce any potential micro-vibrations.
  • Try reducing the focal length of your lens, for example, using a 200mm lens instead of a 300mm lens. When stacking images in post-processing, you can enable Drizzle to enhance the resolution. Or using teleconverter.
  • Shoot in a dry and clear environment with no light pollution or atmospheric pollution to minimize atmospheric disturbances.

Below are case by case for star distortion and solutions (Using 135mm, 200mm, 500mm lens) :
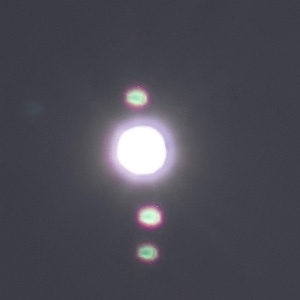
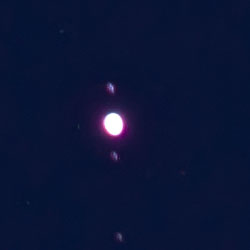
Stars appear in the shape of a donut because it didn't focus correctly.

Solution: Refocus using a Bahtinov mask.
The stars are jittery and there is a consistent trailing in a specific direction. Adjusting the polar axis does not improve the trailing. This is often caused by shooting celestial objects in the western sky, putting excessive strain on the camera tracking mount.

Solution: Move the camera to the north or south sides, reducing the weight on the tracking mount.
The stars show trailing and there is a stretching effect.

Solution: The spring tension is too tight. Please adjust the position of the spring.
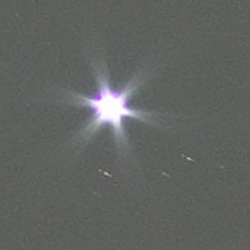
The stars appear in irregular shapes, but some of them look normal. This is due to atmospheric turbulence.

Solution: Shoot in a dry and clear location. However, stacking multiple images will improve the results, although it may reduce overall sharpness.
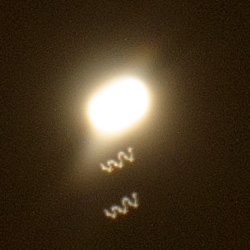
When not polar aligning to make trails and the star trails appear in zigzag pattern.
The Barn Door Tracker is not a highly precise star tracking device, so there may be some stability issues. Brighter stars can mask this inherent flaw due to their brightness. However, smaller and dimmer stars will exhibit their flaws when using long exposure times with a telephoto lens (the photo was taken with a 500mm focal length and a three-minute exposure). This issue can usually be improved to some extent since it is often caused by instability in the M5 threaded rod, loose M8 joints, or worn gears in the mechanism.

Solution: Please check the stability and smoothness of the M5 threaded rod and bearings, and ensure that the screws are tightened properly. Additionally, try replacing the large gear to see if it improves the situation. If there is any damage to the bottom board, it needs to be replaced. Of course, aligning with the polar axis and reducing the exposure time will also minimize the impact of these issues.
Accidental contact with the tripod, strong wind, unstable ground, and other external factors can contribute to the issue.

Solution: Having a stable tripod is crucial, and it's important to avoid shooting in excessively windy conditions. Ideally, choose a time when the wind is calm for the best results.
Polar alignment is good, and stars appear normal, but sometimes there is a sudden small bending phenomenon in star shape.

This could be caused by atmospheric turbulence, tripod looseness, or slight vibrations from the camera shutter. You can try enabling a delay shutter or using a silent shutter mode. It could also be due to precision issues, such as worn teeth in the gear or foreign objects. Usually, stacking multiple images can improve these minor flaws. However, if you are very concerned about the details, you may need to manually exclude low-quality photos from the stacking process.
Initially normal, but stars gradually exhibit trailing or the trailing direction differs from the star's movement direction.

The issue is often caused by loose screws between the camera and the tripod. During the gradual elevation process, the screws may loosen due to changes in gravity. Before shooting, make sure to tighten the screws between the camera and the tripod. However, if there is still trailing or double exposure-like effects, it could be due to gear engagement issues between the large and small gears. Please check if the motor screws are loose, if the spring tension is too tight, or if the M5 rod is deformed.
If the rod is deformed, it is important to remove it and manually adjust it by hand. Avoid using the tracker as a lever to manipulate the rod, as this may damage the axis or affect the precision of the tracker. Also, avoid bending the rod against a metal surface, as it may damage the teeth. Since there is no suitable tool for precisely bending the rod, it is difficult to achieve a perfect curvature. Please try to avoid shooting with an excessively elevated rod and adjust the motor position to achieve optimal gear engagement.

I have personally tested the load capacity to be approximately 1.7kg (Nikon D5200 + Nikon 300mm F4.5). If we consider only the load capacity of the motor for elevation, I have tested it to be around 2.3kg. However, such a heavy setup would result in noticeable vibrations and make it difficult to control the camera's orientation. It also becomes challenging to locate celestial objects, making it unsuitable for photography. Additionally, the polar alignment may change due to the excessive weight of the camera, resulting in trailing (the tripod may loosen due to the weight, and 3D materials may have issues with heavy loads).

The load capacity primarily depends on the weight for elevation. If you can adjust the camera angle to the lightest load for elevation, then the load capacity is not an issue. It is recommended to have an elevation load of 300g or less.

We recommend using fixed focal length lenses below 200mm, especially the 135mm F2.8 / 200mm F4 (F2.8). If you need to use a focal length of 300mm or more, we suggest using a reflex mirror to reduce weight or using a 1.4x teleconverter to increase the focal length. If you must use a focal length of 300mm or more, please reduce the exposure time per shot to avoid star trails.

Yes, but due to weight restrictions, it is recommended to use a lightweight reflex mirror lens or a 1.4x teleconverter. Long exposure times are not recommended due to stability issues and the need for precise polar alignment.

This is a demonstration of star shapes taken with the Tamron 500mm SP Mirror lens, with a single exposure of 60 seconds. It is not easy to achieve this exposure time at a focal length of 500mm, and for super-telephoto lenses, it is advised to keep individual exposures to around 10 to 20 seconds to minimize star trailing.


Using Tamron 500mm SP Mirror Lens


Without using a tracking mount, you can see that there is shaking in the small star points due to atmospheric turbulence when using the Tamron 500mm SP Mirror lens. However, it is not noticeable in brighter star points.


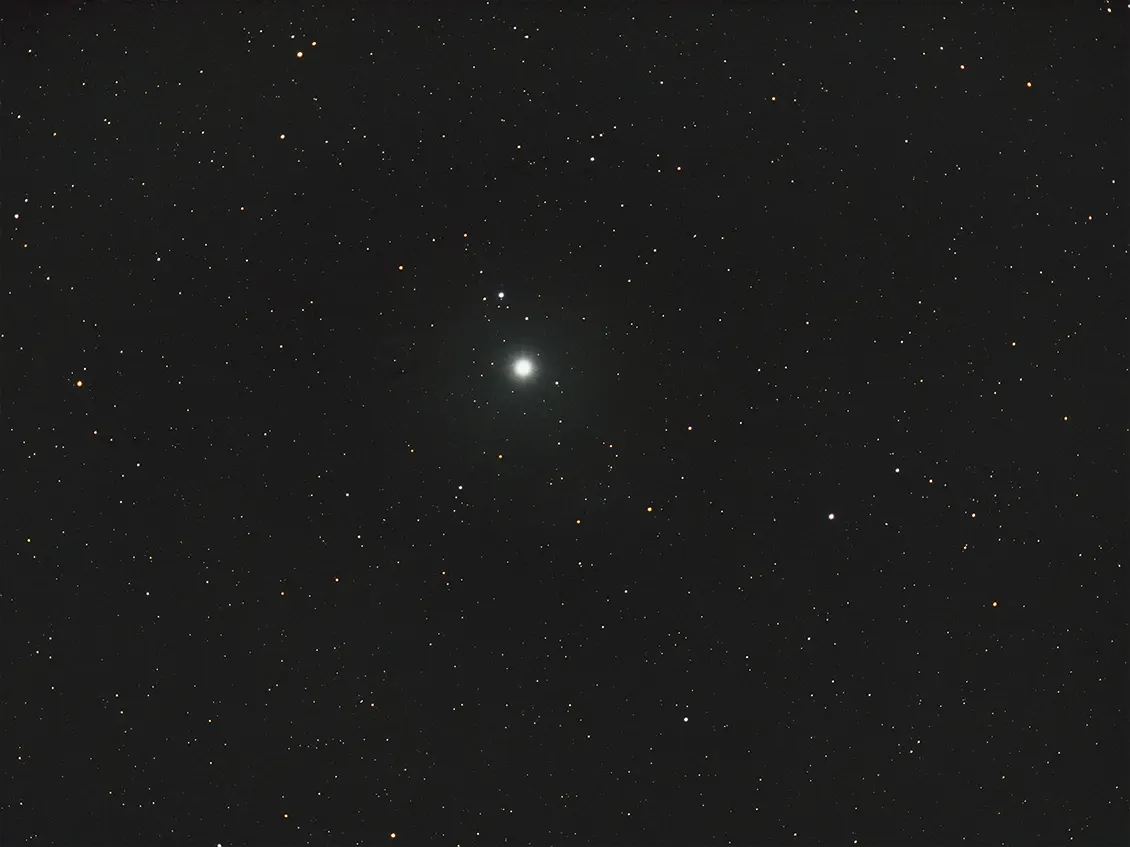
This is a demonstration of star shapes (specifically, the star "Nanheisan") achieved by using an external TC1.4x with a 200mm lens and a 2x magnification on a M43 mirrorless camera, which approximates a focal length of 600mm. The image is a single exposure of 60 seconds, with a total of 58 minutes of stacking.


This is a demonstration of moon tracking with a Tamron 500mm SP Mirror lens. The photo was taken in the urban area of Kaohsiung City on November 11, 2022, with severe atmospheric turbulence, light pollution, and winter air pollution.

We have tried using metal for large gears and have even had them made by a CNC company, but unable to achieve smooth results. Therefore, we decided to 3D print them ourselves. When operating the gears, please handle them with care and do not tighten the spring too much, as this can cause the gears to break down faster. If the gears have already broken down, please contact us to purchase replacements.

DSD Maximum recording time is 100 minutes per activation. The rod allows around 2.5 hours of recording. To exceed 100 minutes without readjusting, Please hit controller stop button and restart it, you will make it run another 100 min peroiod. Beware of flipping and ensure sufficient rod length for continuous shooting.

Factors such as light pollution, weather, lens quality, focusing, and post-processing can impact the quality of your photos. Choose clear nights without moonlight and locations with minimal light pollution for better astronomical shots.

Deep-sky objects require significant post-processing, including stacking and various image adjustments. This is an essential skill for astrophotography. Utilize Google search to find relevant post-processing techniques.

For stacking images, you can use Sequator, DSS, or Siril. We highly recommend Siril, which is a particularly powerful software for stacking and pre-processing.
Siril Manual
Siril Manual image stacking tutorial (optional processing of related dark frames, bias frames, and flat frames).
Siril Download
DSS Download
Sequator Download

In post-processing adjustments, you can use: GIMP。

GIMP Download    

All of the above mentioned software options are free to use.


This is the original image taken with a 60-second exposure.
ISO1250 , F4 , 60sec, Nikon 24mm lens with Olympus E-M10
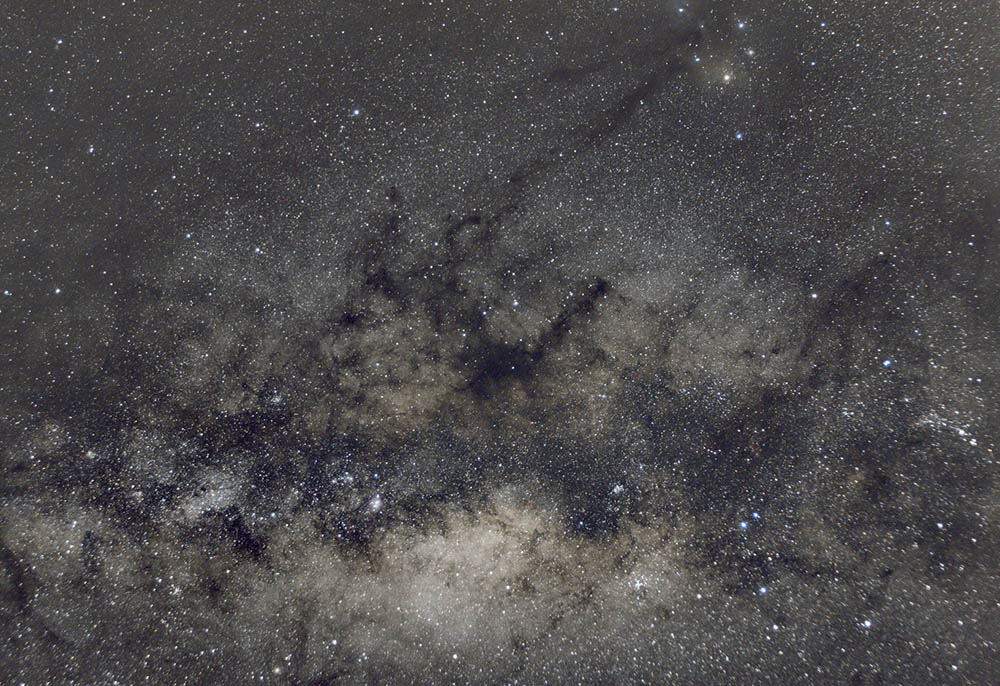


This is the result after stacking 51 minutes of exposures, and the galaxy is now clearly visible.


This is the result after stacking and post-processing, enhancing color contrast and reducing noise.


Dark frames, bias frames, and flat frames are all captured to improve image quality. When combined with suitable software, they help capture astronomical photos with more details and less noise.

Dark :
Dark frames are images captured with the camera lens or telescope covered, typically with the same exposure time as your actual photos. They capture the sensor noise and thermal fluctuations present in your camera, helping to reduce noise during post-processing.

Bias :
Bias frames, also known as zero frames or offset frames, are images captured with the shortest possible exposure time and the lens or telescope fully covered. Bias frames capture the readout noise and electronic noise of your camera sensor.
To capture bias frames, keep the lens or telescope covered and set the shortest possible exposure time. Capture multiple bias frames to ensure accurate noise reduction during post-processing.

Flat :
Flat frames are images captured to correct for the uneven illumination and dust spots present in your optical system. They help in equalizing the brightness across the image and reducing artifacts caused by dust particles on the lens or sensor.
To capture flat frames, cover the lens or telescope with a diffuser such as a white T-shirt or a specialized flat panel. Capture multiple images with the same exposure settings as your actual photos, making sure the entire frame is evenly illuminated.

There are tutorials online, GOTO can help you locate any celestial object you want to photograph."

Star Trails vs Equatorial Mount Tracking

Without star tracking equipment, long exposures capture star trails due to the Earth's rotation. With star tracking equipment, it follows the rotation of celestial bodies and captures details of deep sky objects.

Contact Us

If you have any questions about the Barn Door Tracker, feel free to email me (James).

email : deepskydoor@gmail.com